
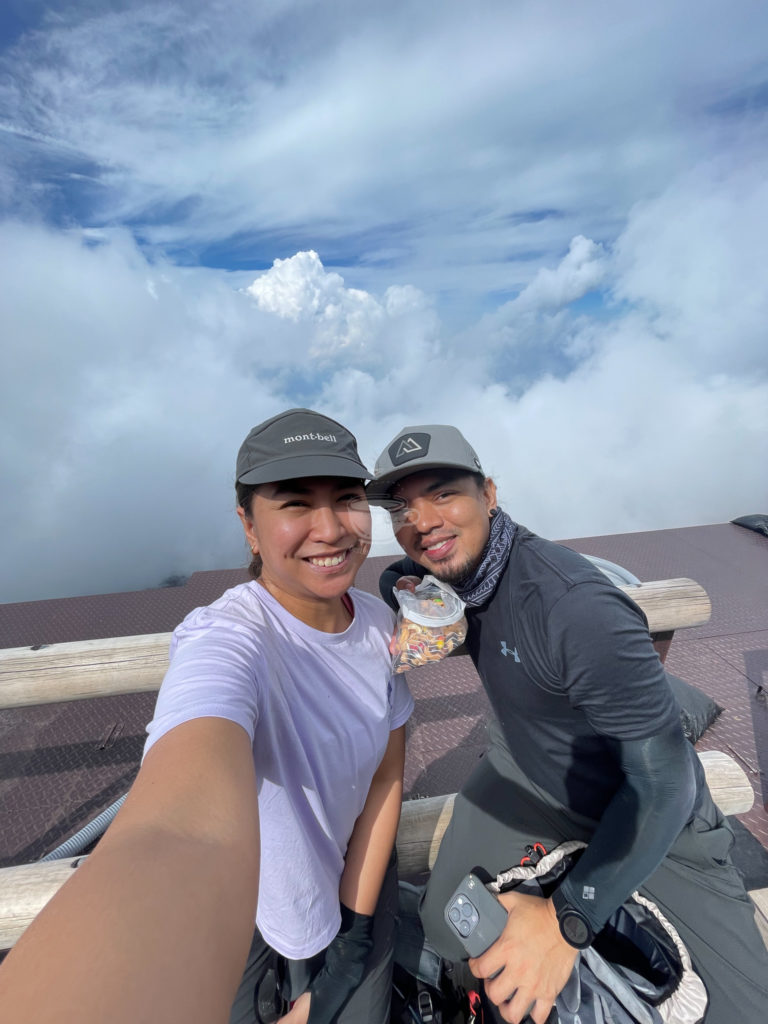
Have you ever had a trip that you’ve always dreamed of having and when that trip finally happens, everything, as in everything, in many ways, just goes your way?
For me, it’s this Mt. Fuji climb. This climb was a dream for us but we didn’t initially plan to do it this year, until I don’t know what came up to us, we just made it happen despite a few hurdles. Did you know that it’s just FREE to climb Mt Fuji? No tedious registrations needed!
DIY is possible like what we did and here’s how you can also do it + things you need to know:
Climbing Season
When’s the best time to climb Mt Fuji? It’s not always that Mt Fuji is open for climbing and it is usually just open during their summer season. This year, (2023) it is open from July 1 to September 10.
Mt. Fuji (In A Glimpse)
Giving you a glimpse of what you’ll get into if you’re interested to climb Mt Fuji as well: Mt Fuji is a world heritage site and the highest mountain in Japan scaling 3776 MASL. You (and I) won’t get wrong on this number because most souvenirs at Mt Fuji has 3776 MASL written all over them. It is an active volcano and it has long been on Alert Level 1.
Which Trail Did We Take?
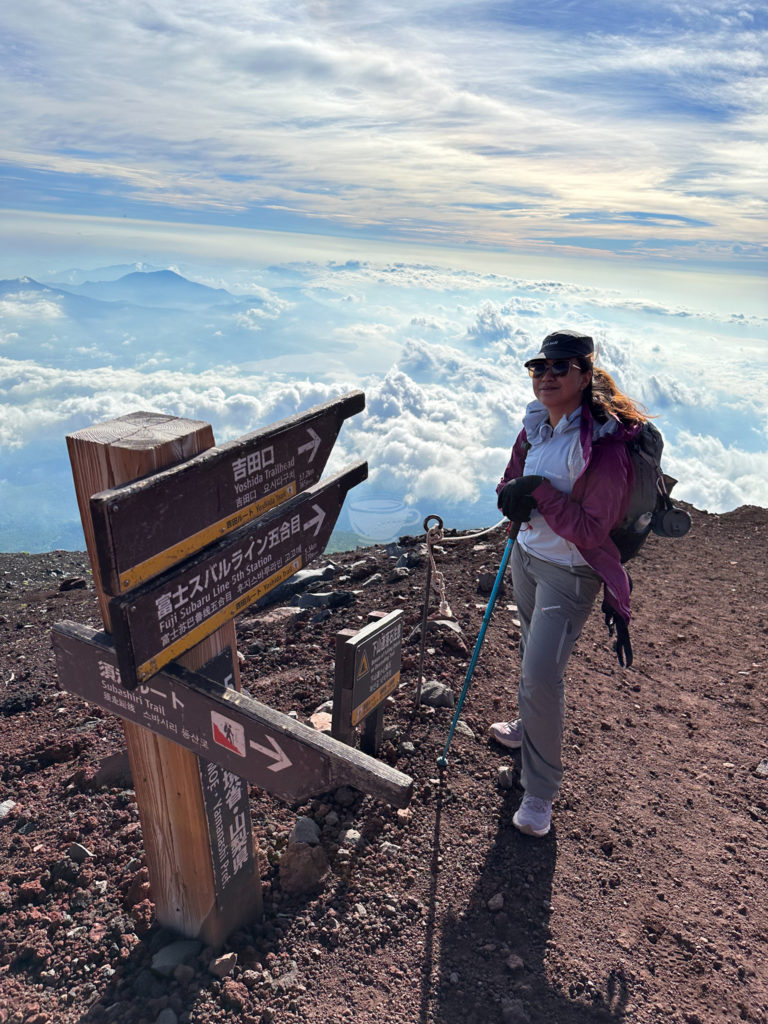
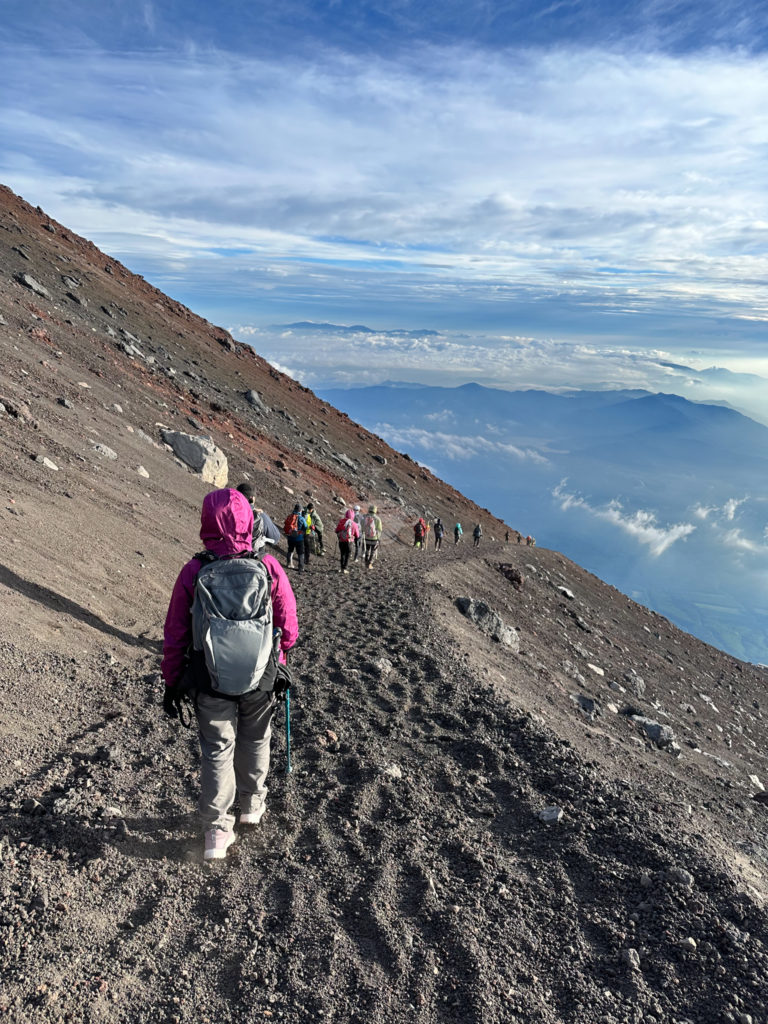
It has four trails namely Yoshida Trail, Subashiri Trail, Gotemba Trail, and the Fujinomiya Trail. They say the easiest access and the most popular one is the Yoshida Trail and because that’s the trail almost everyone on the internet talks about and what I saw a lot of information about, that’s the one we chose as well.
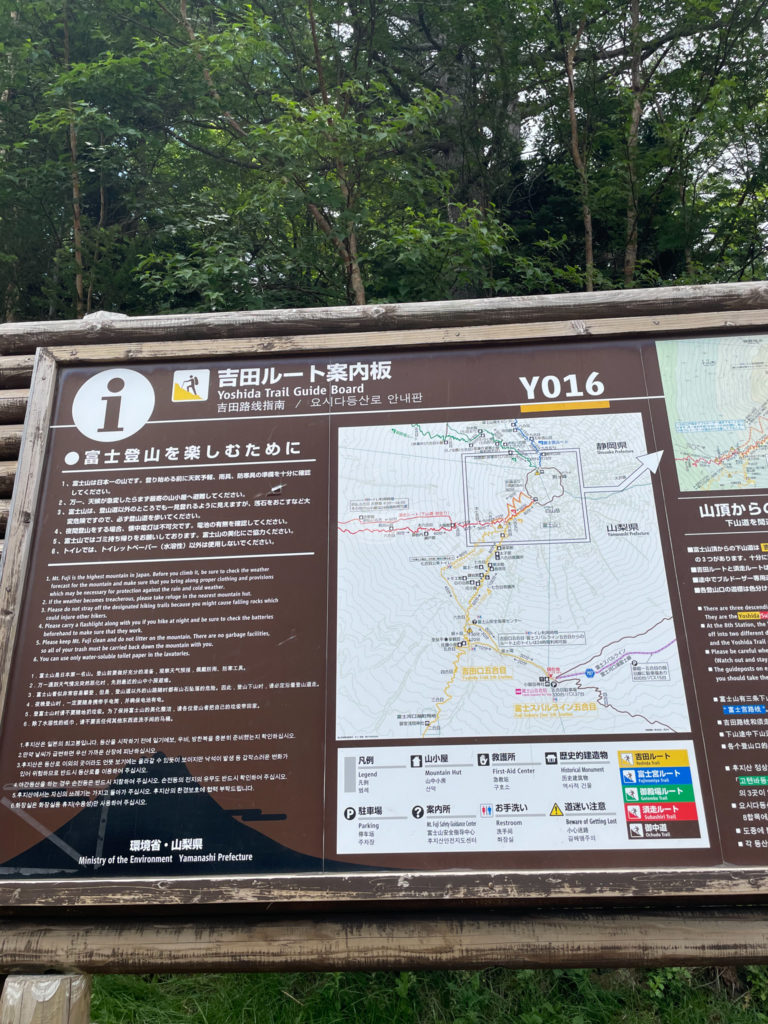
The trails are easy to follow! You don’t have to worry about getting lost as long as you follow the visible trails and stay within the area where people walk by. Signal is also strong anywhere in Mt Fuji so you can use Google Maps to see your progress and even pin to locate your mountain hut.
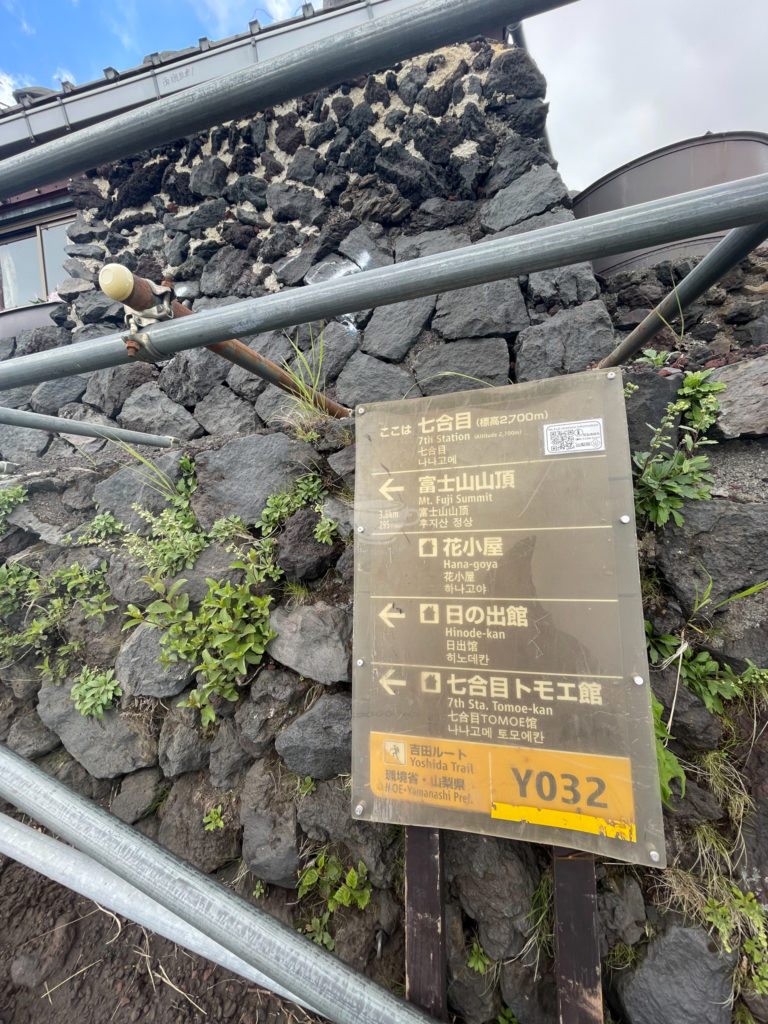
Mt. Fuji’s 10 Stations
Climbing Mt Fuji includes passing by and/or reaching 10 stations. The 1st-5th stations are open for leisure trail walks only (I don’t have much information on this) and from 5th station up to the 10th station which is the summit is which most hikers take.
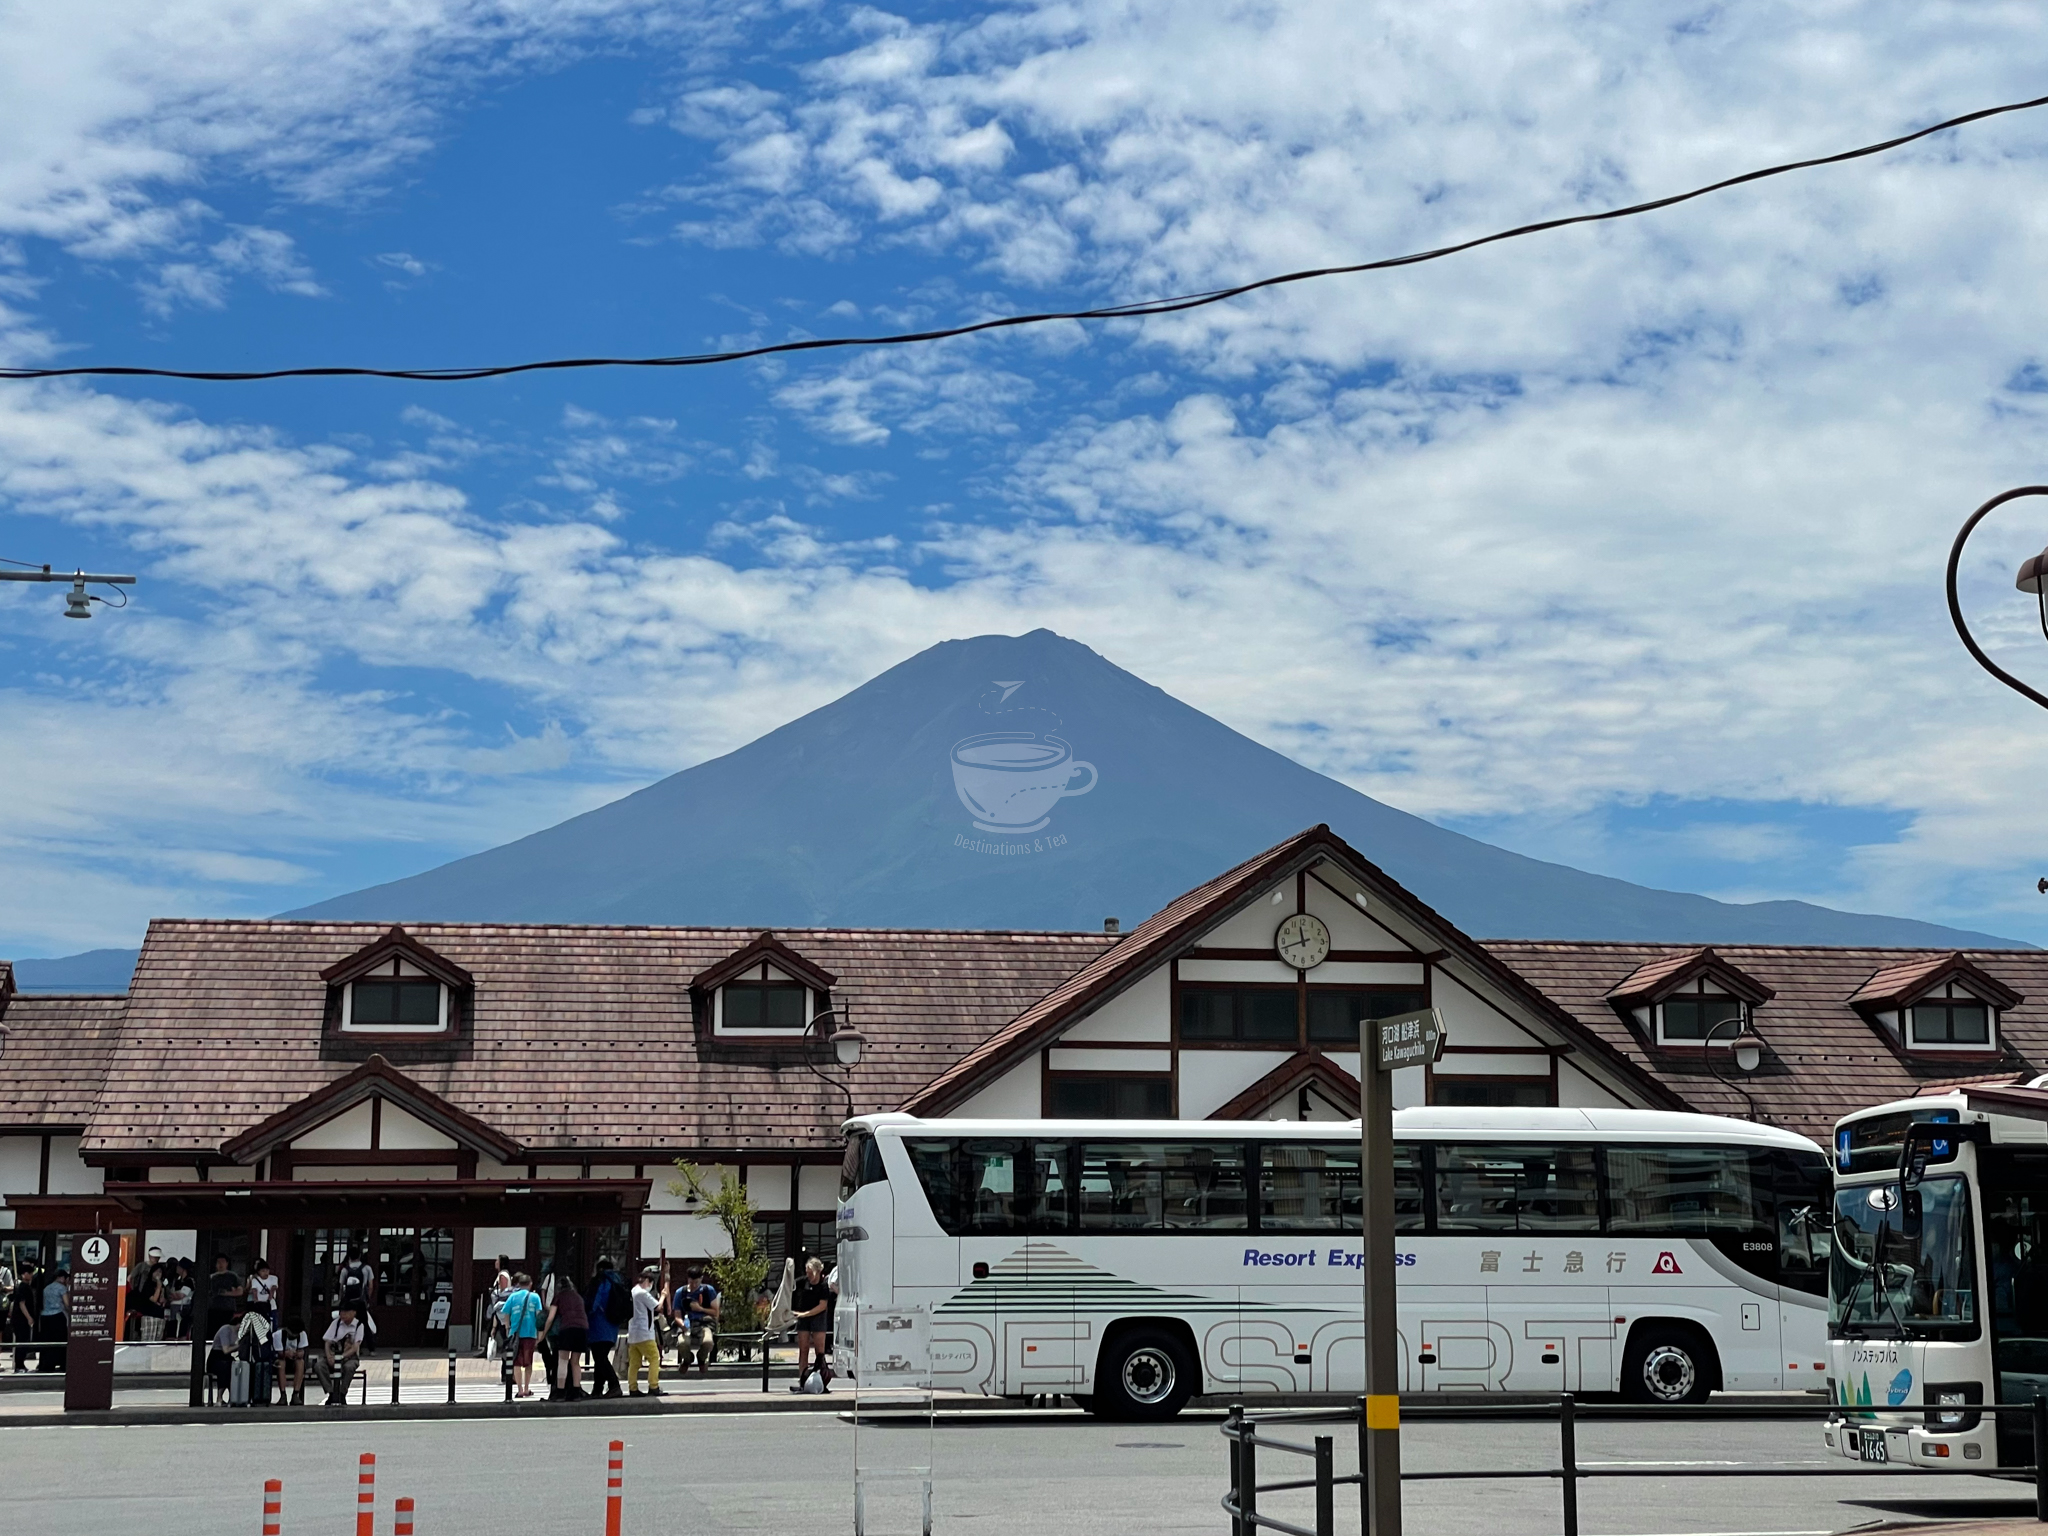
Because we were taking Yoshida Trail, the hike begins at the 5th Station Subaru Line which can be accessible by taking a bus from Tokyo or Kawaguchiko Station. (Transportation guide included here)
We felt safe and secured knowing that most stations have a First-Aid Station and the mountain huts for accommodation begin at the 6th or 7th station where hikers can take a rest from time to time.
Difficulty

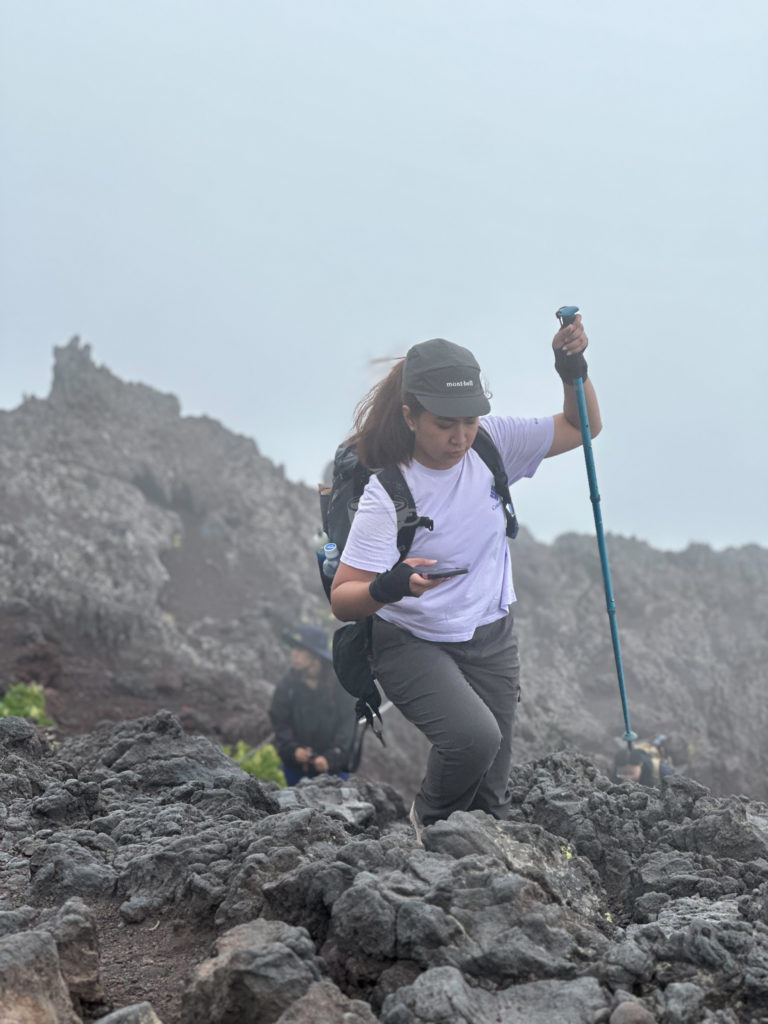


A lot of people say (or at least what I saw from other blogs) that it is okay for beginners but hear me out – I don’t think one should underestimate it. You still need to be active before climbing it because the trails can be challenging and moderately inclined. It is definitely not for first-time hikers. I am an active hiker and does low-intensity workouts with strength training at least twice a week and some parts of the trails still felt difficult to me. Well, at the end of the day, it still varies per person.
Dayhike or Two-Day Climb?
Although dayhike is possible, it is not recommended. We did a 2-day 1-night climb (itinerary included below) and had to book a mountain hut slot.
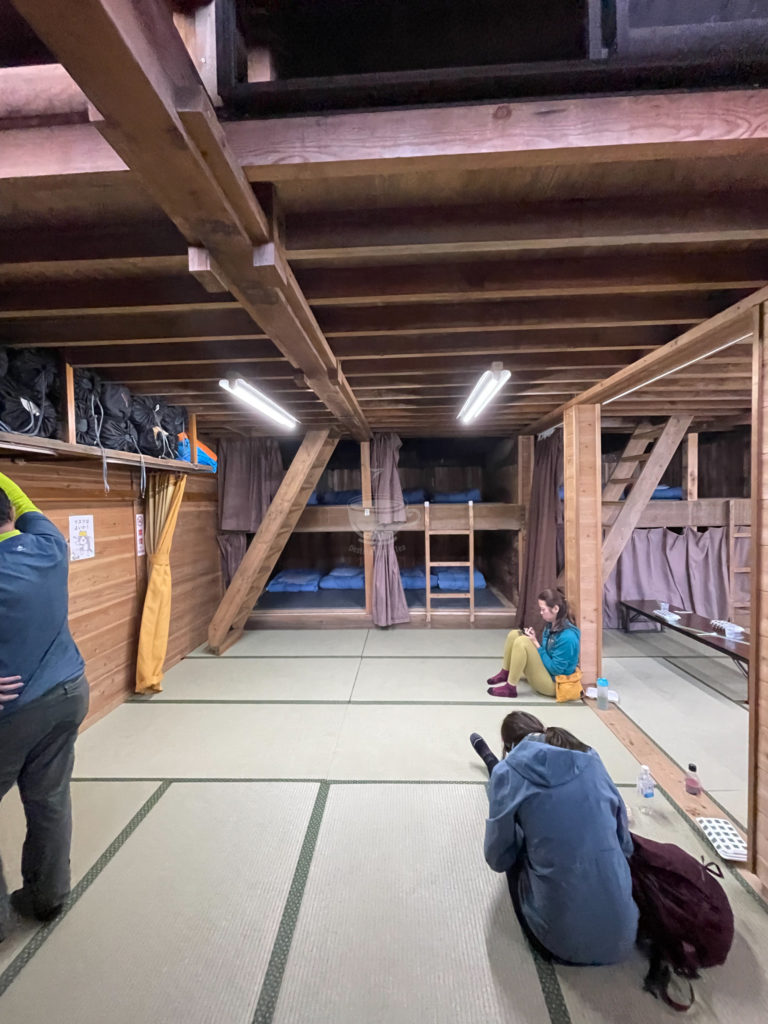
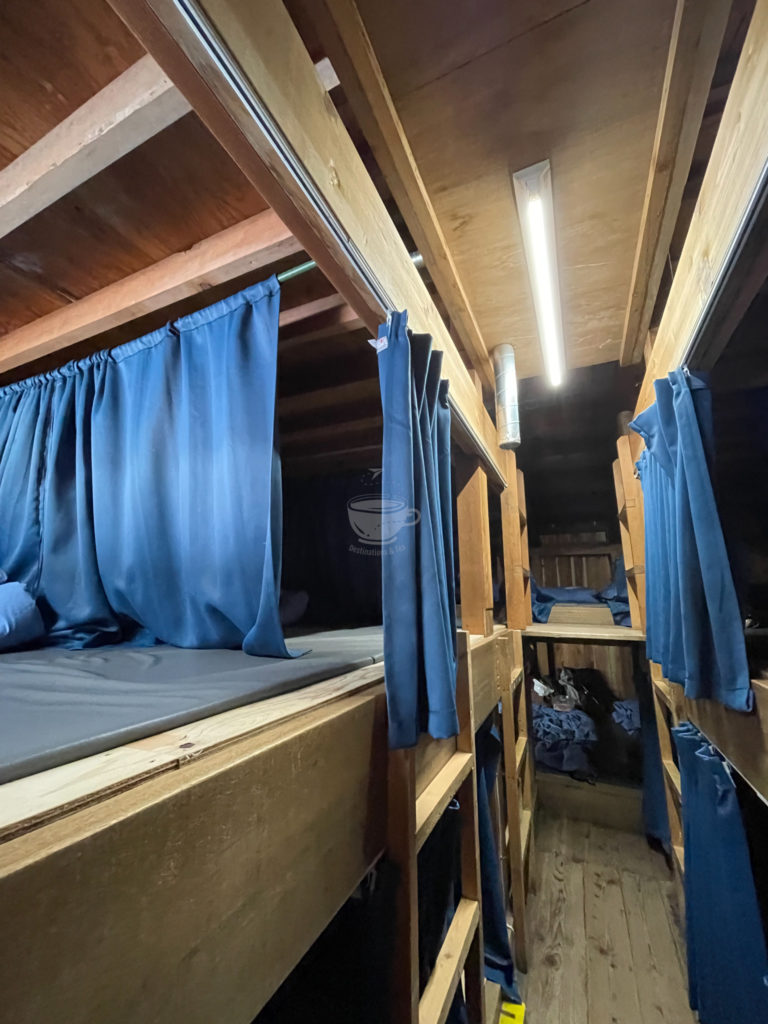
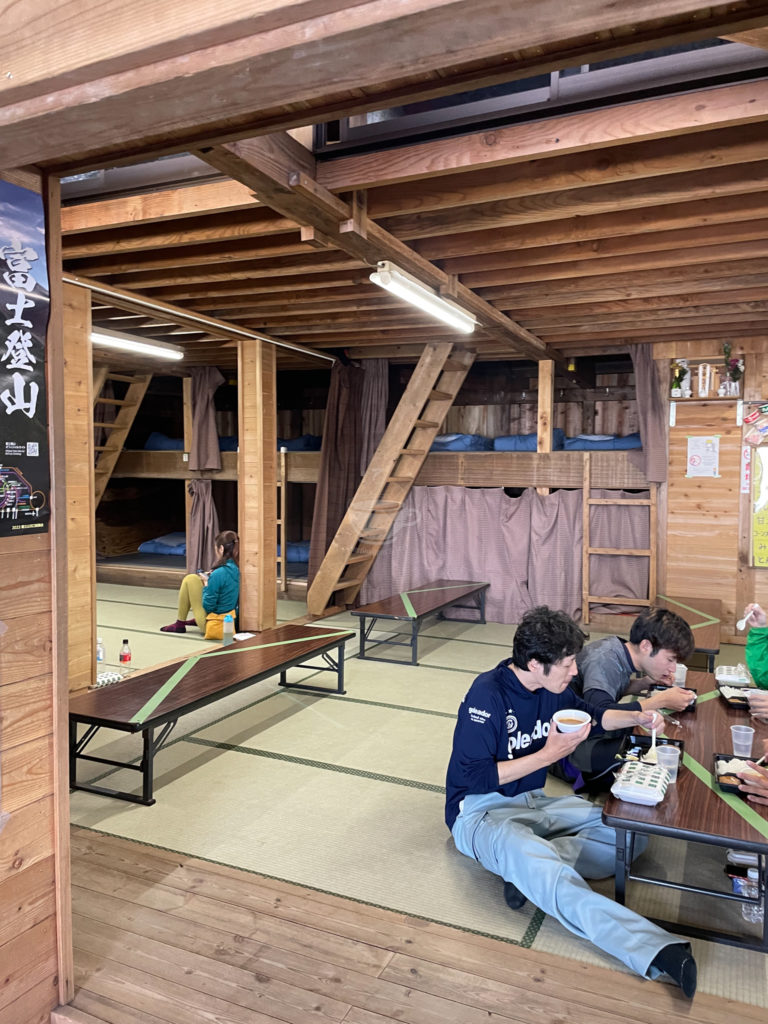
Mountain Huts at Mt Fuji
There are a lot of mountain huts available for Mt. Fuji, but it’s a risk to walk-in because there are days, even on weekdays, when they are fully booked. One of the challenges was securing our slots because as early as March, when the reservations open for these huts, they get fully booked so quickly! Luckily, we were able to get our slots in May when Kamiedoya, a mountain hut at the 8th station opened.
Remember my intro in this blog? Yes. That worked out for us just when I thought that I’ll just resort availing packages from travel agencies for this climb and pay 5-10x more.
To add to our blessings, Kamiedoya is already near and just more than a kilometer away to the summit or 10th station. I didn’t plan this but this was such as great blessing.
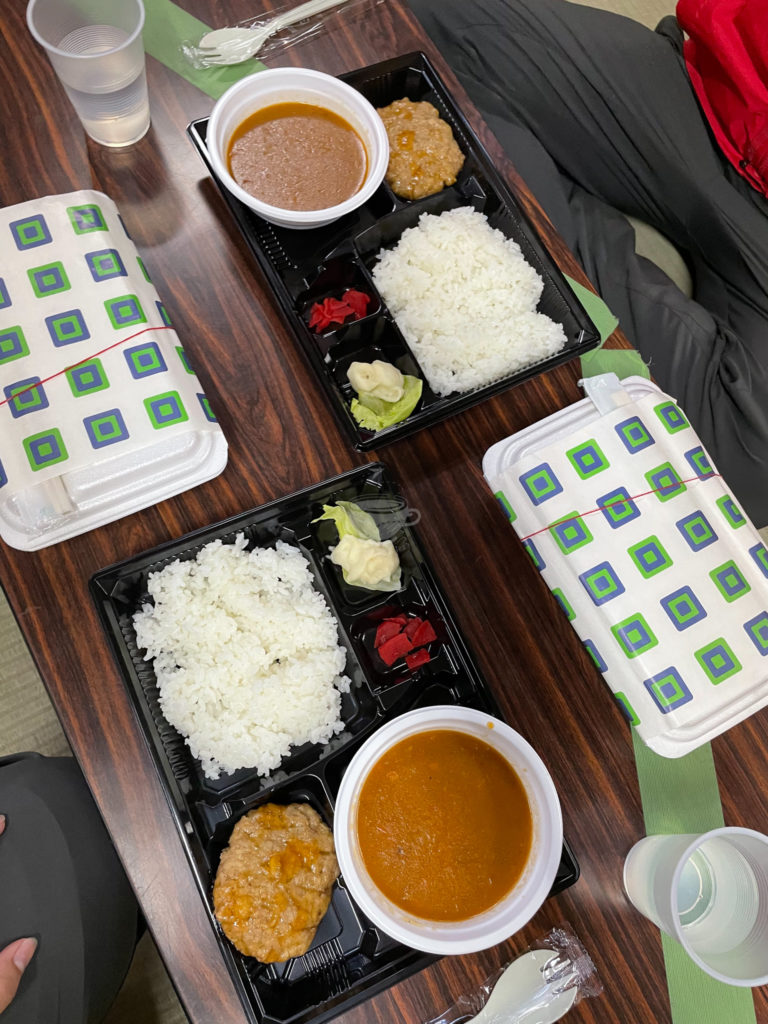
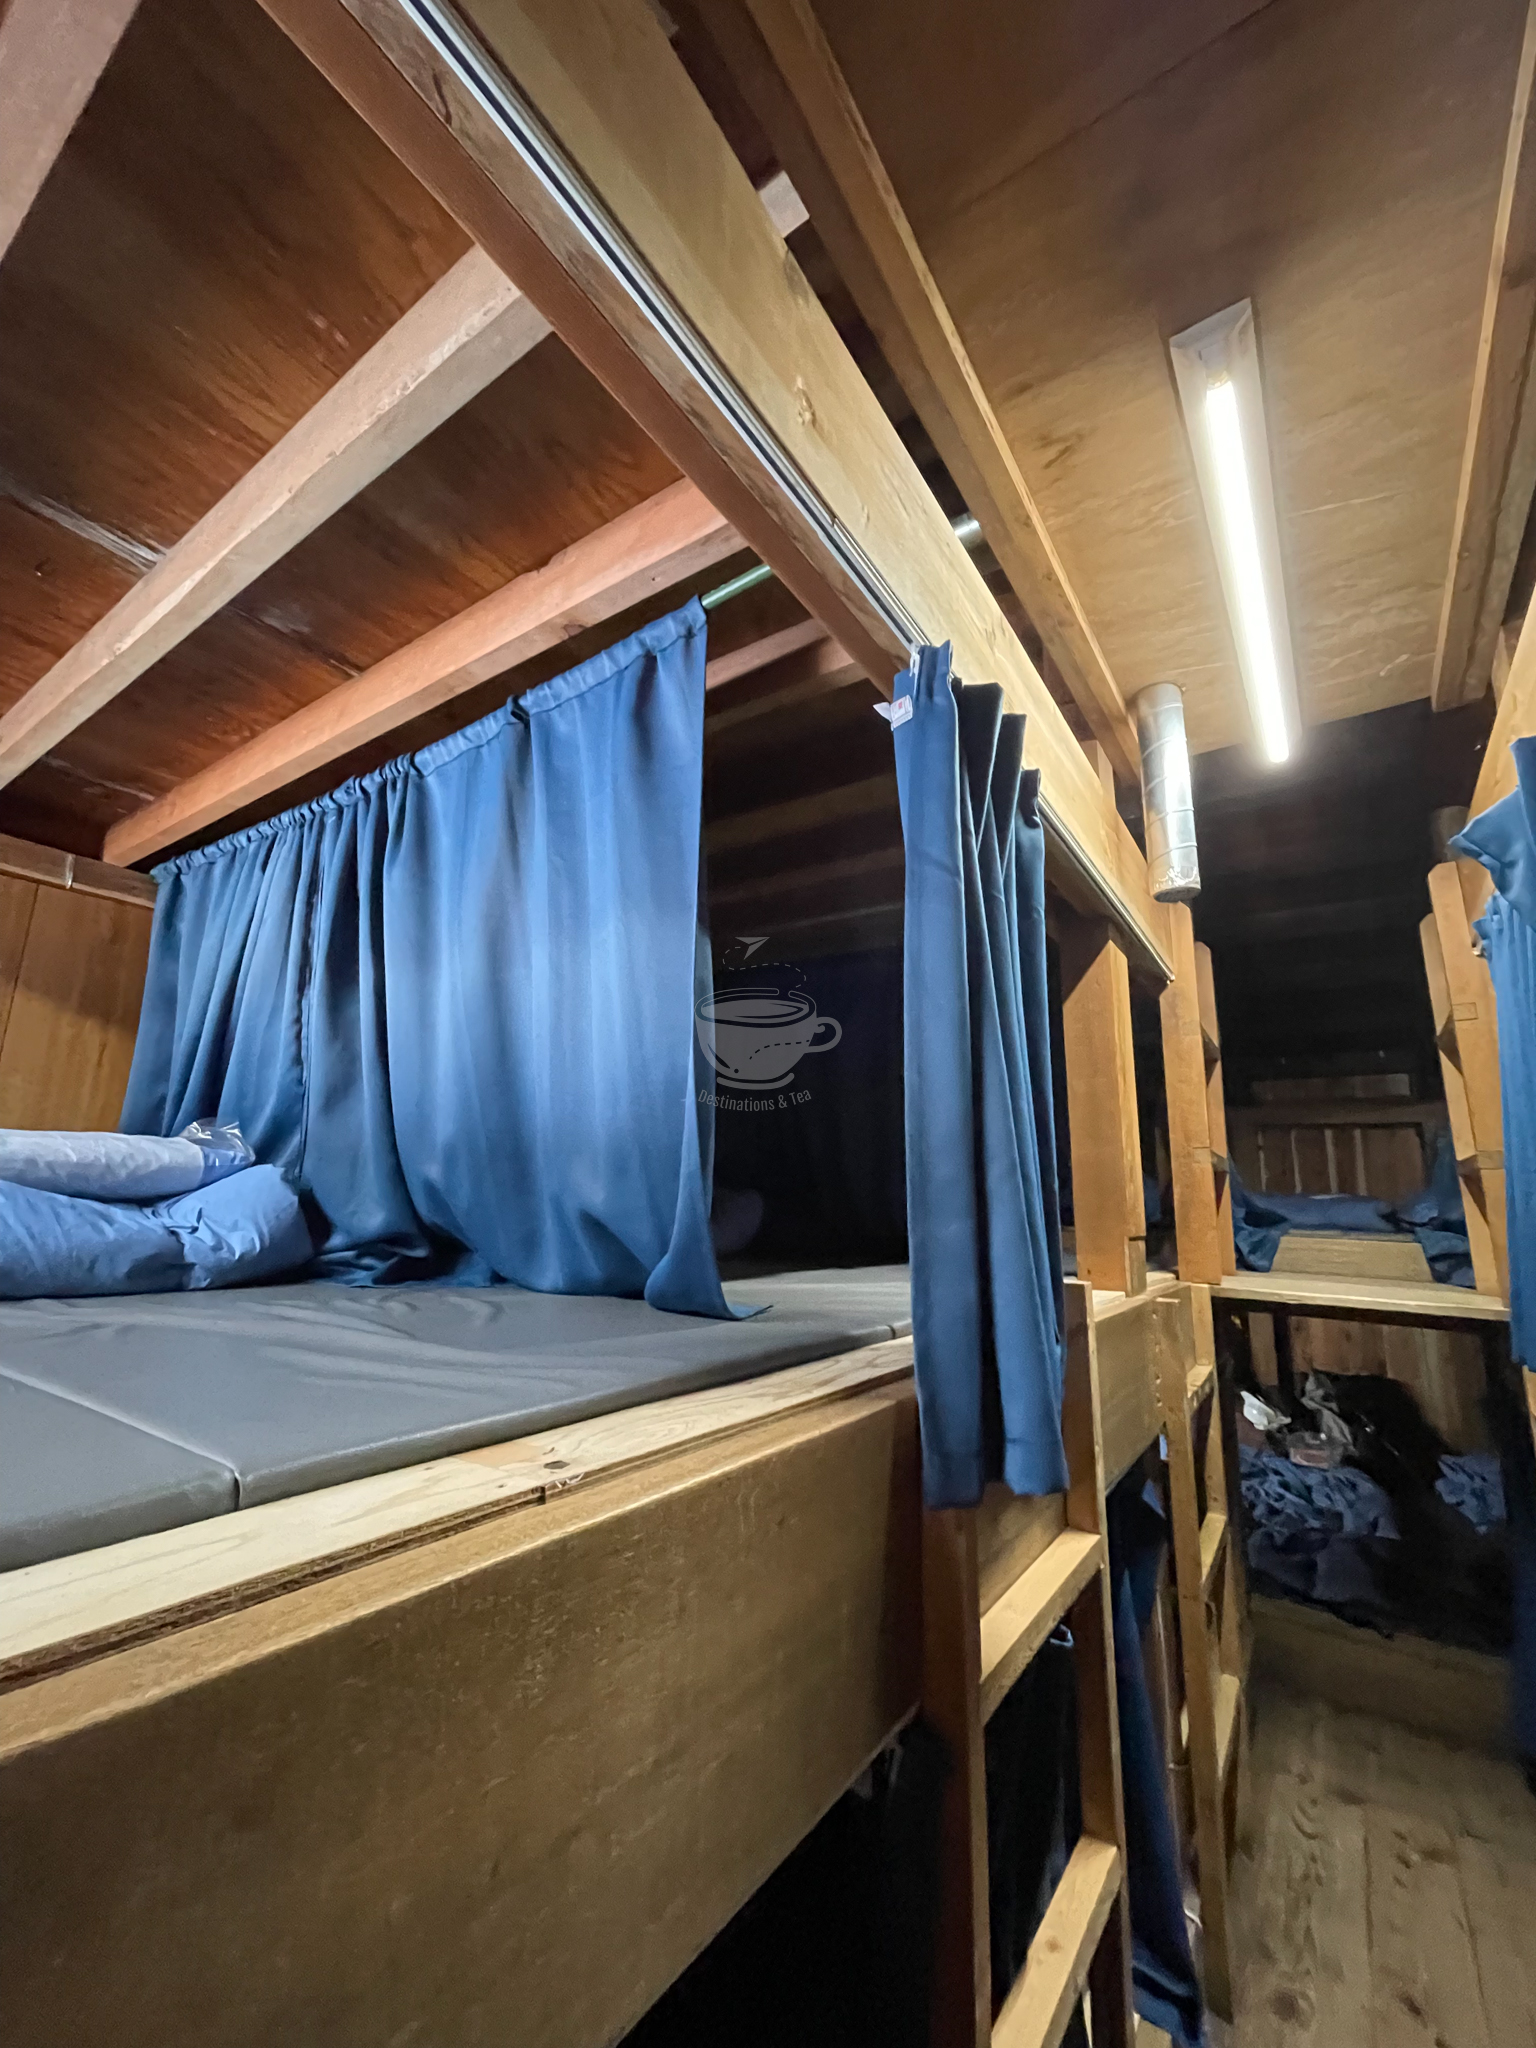
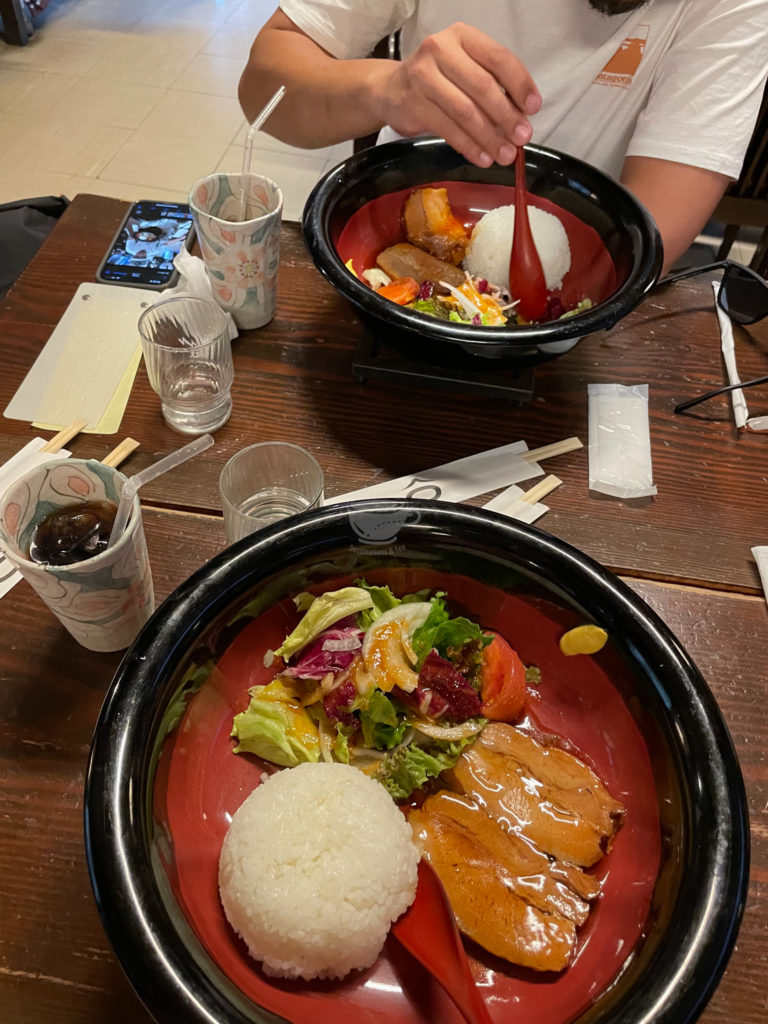
Kamiedoya offers bunk bed accommodation with inclusion of 2 meals. The restrooms charge Y100 and you can also charge your gadgets there for Y300 per hour (if I am not mistaken).
The huts in every station offer food, drinks, the popular walking stick which you can get stamped on per station, portable oxygen cans, and more but of course, the items can be pricier as you go up. Restrooms are also available and usually charge Y50-Y200.
I booked our mountain hut here: https://fujisan-edoya.com
Transportation Guide
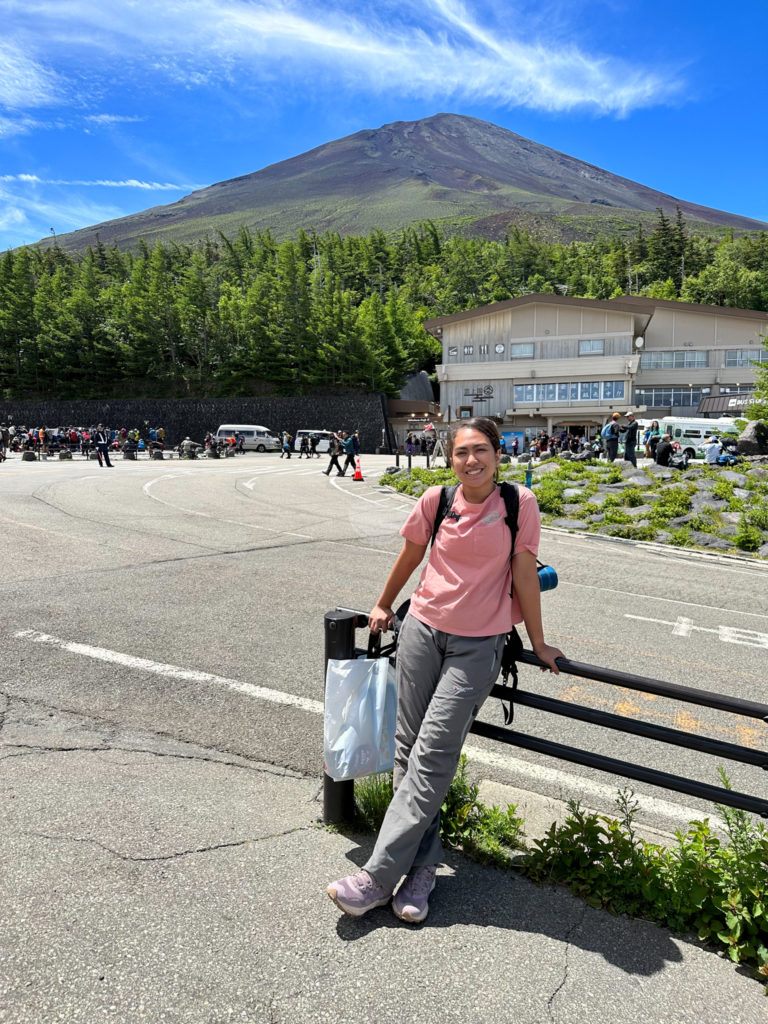
Like I mentioned, the jumpoff of Yoshida Trail is at the 5th Station Subaru Line which is also a popular destination for non-hikers and tourists who want to get to Mt. Fuji at the 5th Station. To get here:
- Take a bus from Tokyo to Kawaguchiko Station
- From Kawaguchiko Station, take a bus to 5th Station Subaru Line
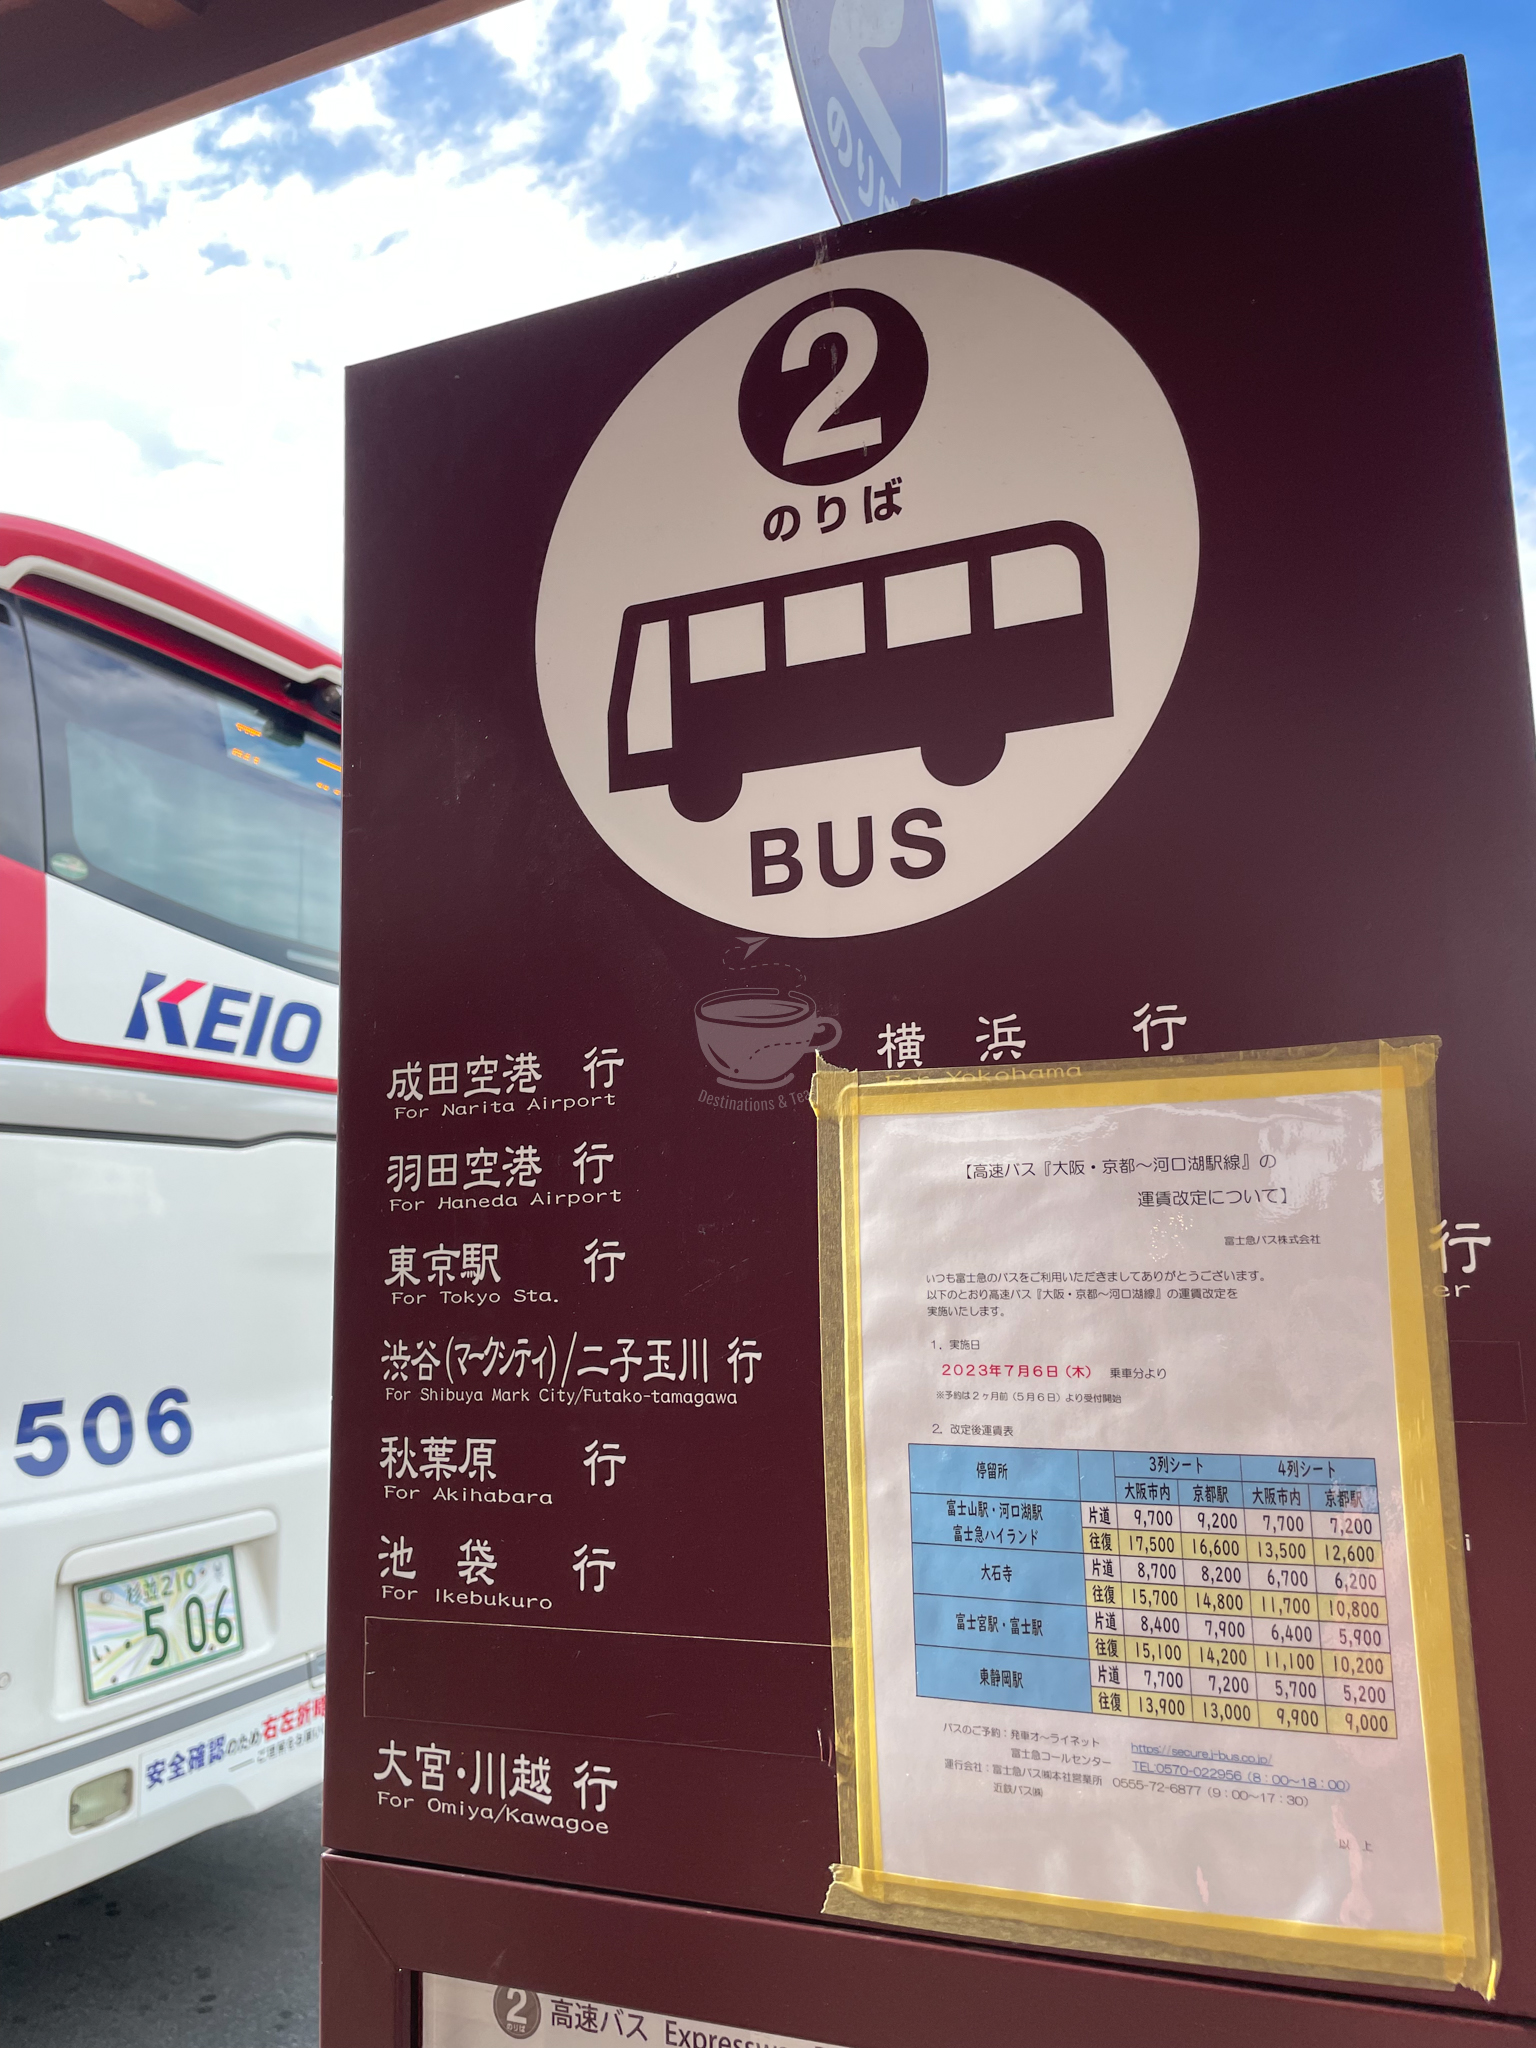
But if you can search and get a bus from Tokyo that will drop you off straight to 5th Station Subaru Line, that would be perfect.
Our hotel was in Ikebukuro and thankfully, there’s a bus station that accommodates from there to Kawaguchiko Station. I booked and reserved our roundtrip tickets via kosokubus.com.
Travel time from Tokyo to Kawaguchiko Station is more or less 2 hours and travel time from Kawaguchiko Station to 5th Station Subaru Line
For the 2nd bus, you can walk in at the ticket booth at Kawaguchiko Station to buy your roundtrip tickets which is valid anytime within 2 days. Alternatively, you can also take trains to and from Kawaguchiko Station.
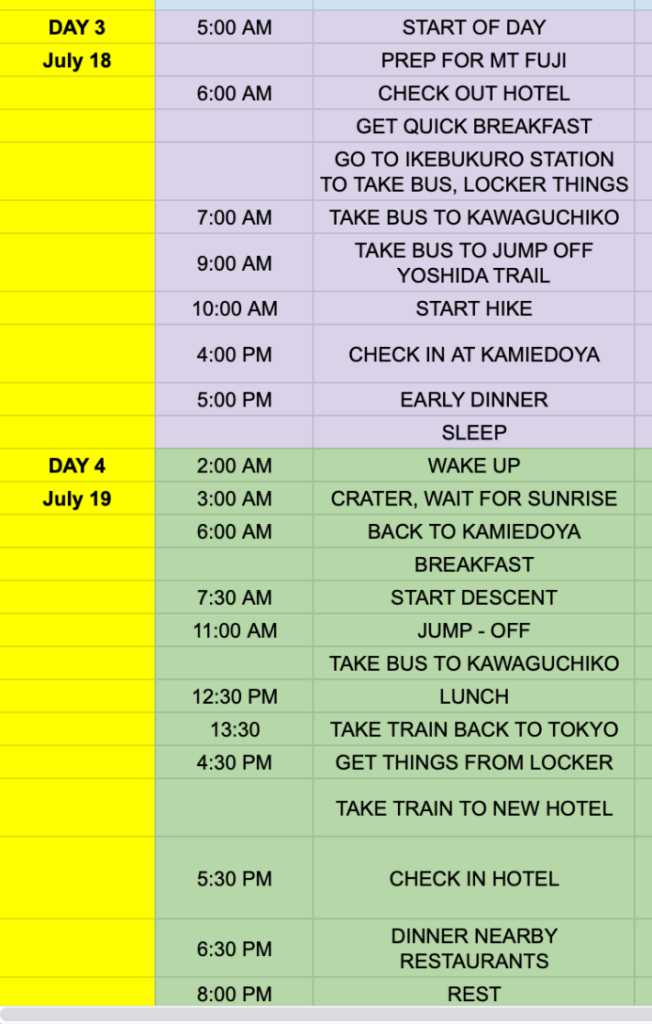
Our Mt. Fuji Itinerary
Here’s our Mt. Fuji Climb Itinerary. Since this is a DIY trip, we agreed to make it flexible depending on many factors such as how tired we were gonna get or how much more time we need to take the trails, etc. It was also up to us how much time to spend at the summit for photo taking and we didn’t need to conscious for anyone for the things we want to do. *The beauty of DIY trips*
Breakdown of Expenses in Yen and Peso
Here’s a quick breakdown of our expenses in yen and an estimate in peso as of July 2023. Note that your snacks, water, and other miscellaneous items to pack for the climb are not included here:
Y10,300 – Mountain hut bunk bed with 2 meals
Y4200 – Bus: RT Tokyo to Kawaguchiko Station
Y2800 – Bus: RT Kawaguchiko Station to 5th Station Subaru Line
= Y17,300 or around Php 6700 only!
Imagine how cheap it is to climb Japan’s highest!
How To Prepare For Your Climb
- Prepare physically, of course.
- Prepare to secure your mountain hut bunk bed! (This is the key to make your DIY climb happen, or else, you might have to just get the packages from travel agencies)
- Prepare for all the necessary documents to get to Japan such as your visa, hotel bookings, etc.
- Book your transportation especially your bus from Tokyo to Kawaguchiko Station or 5th Station Subaru Line.
Klook Package (If you don’t like DIY)
In case you don’t like to do the whole trip planning by yourself, Klook offers a 2-Day Mt Fuji Climbing Tour. Use my code DESA5OFF for a 5% discount! No minimum spend required.
You can also go directly and book using these links:
A. 2 Day Mt Fuji Climbing Tour With Guide
B. Mt. Fuji 2-Day Tour from Tokyo
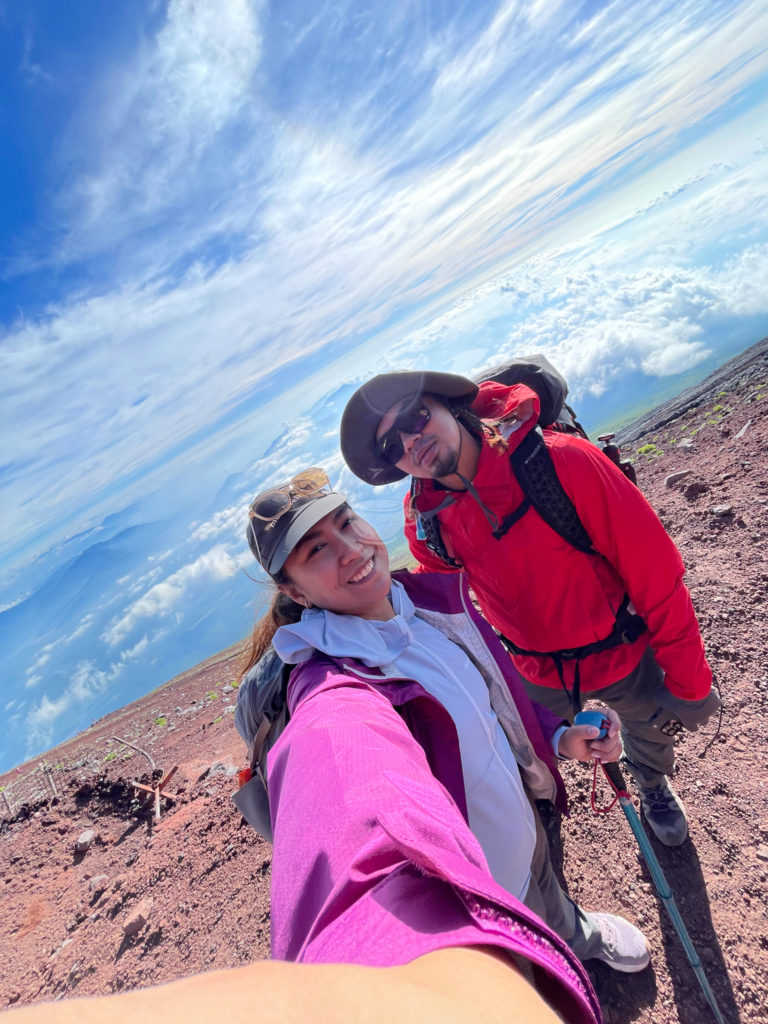
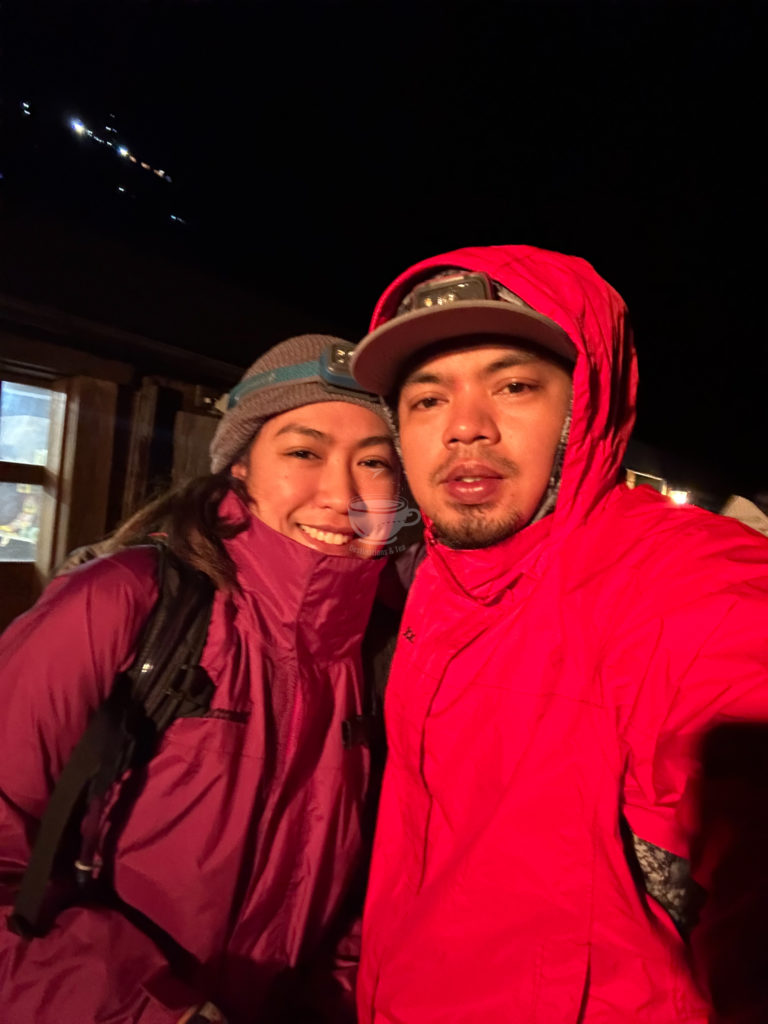
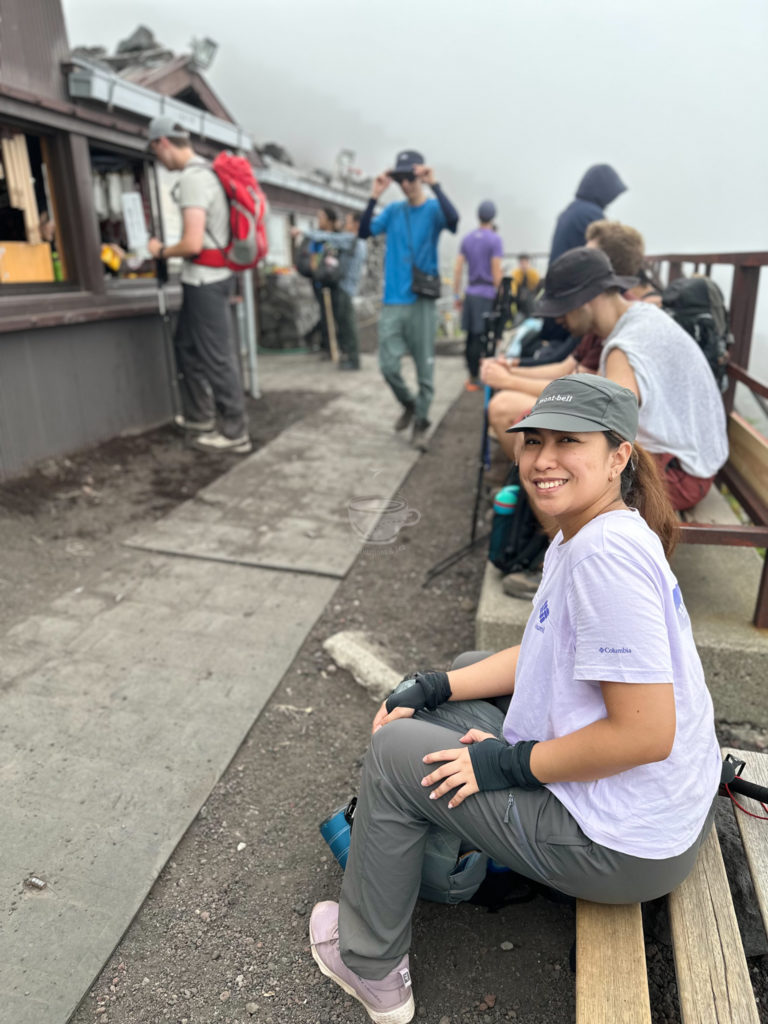
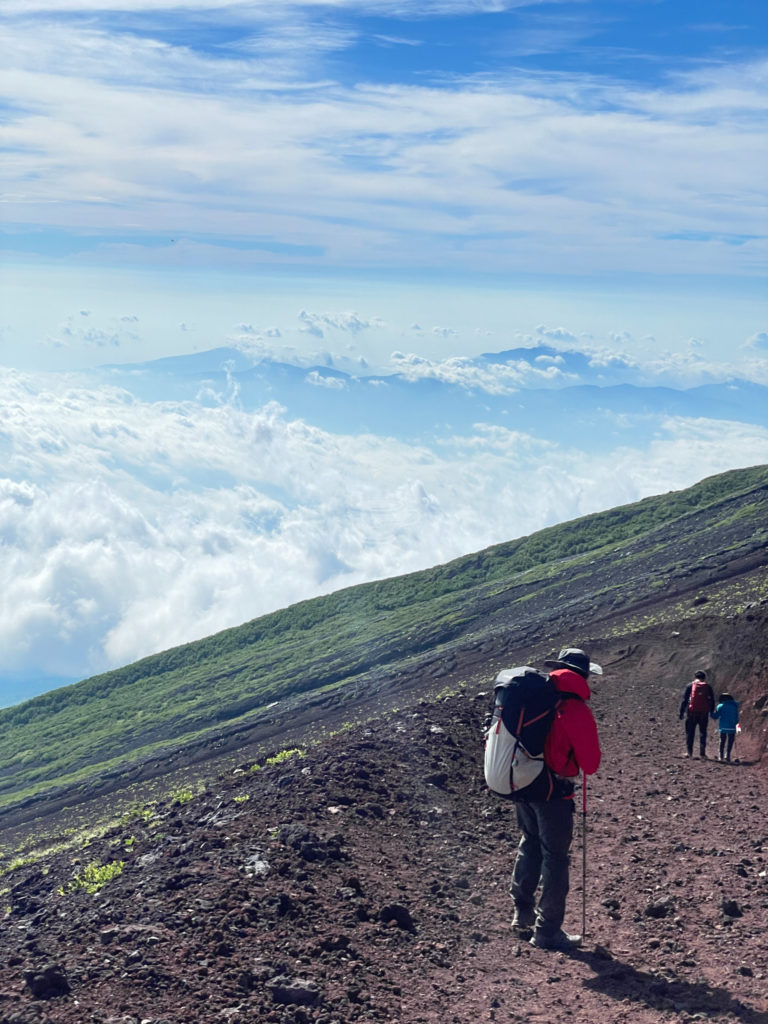
Overall Experience at Mt. Fuji
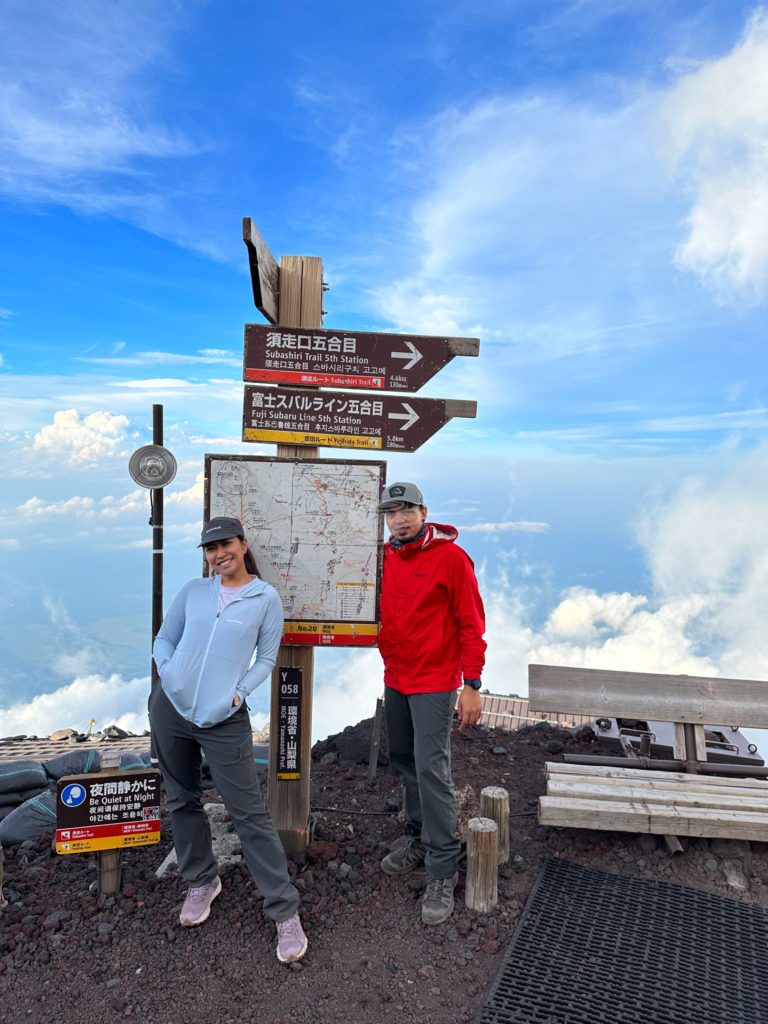
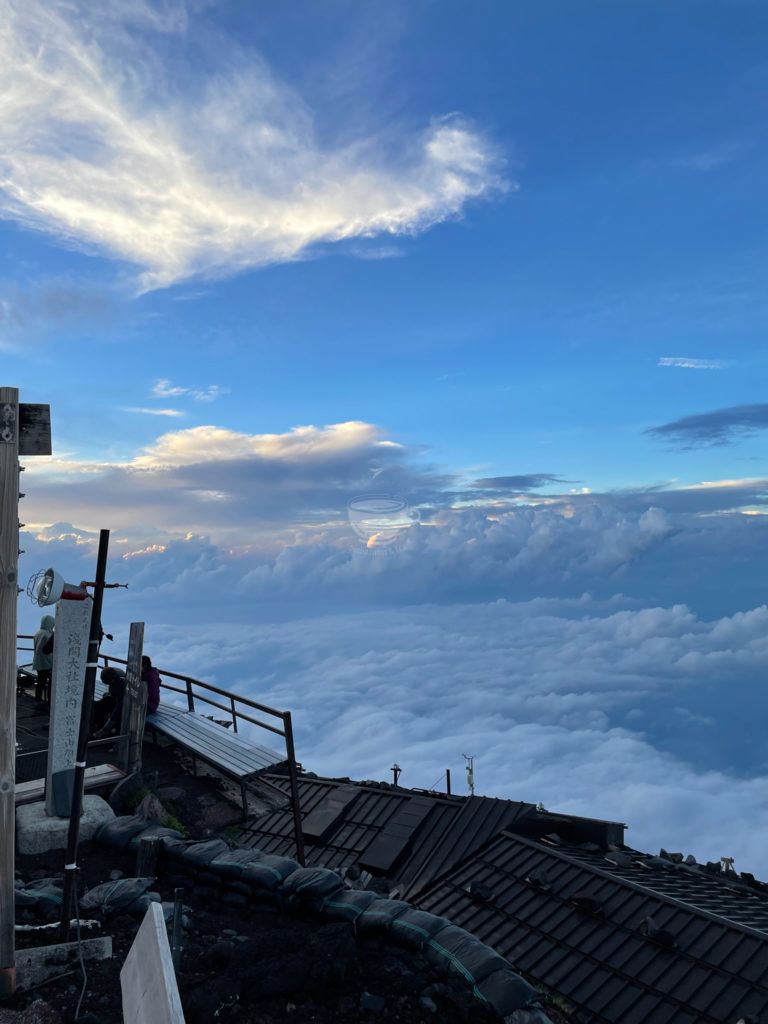
The experience was otherworldly! It was surreal and unbelievable. We were blessed with great weather for 2 days and on the 2nd day, whole of Mt. Fuji, as in from the tip to the 5th station cleared and showed up! We were so ecstatic that everything went our way. We were also safe and never felt in danger the whole time.
Although I don’t see myself returning to Mt Fuji anytime soon, I admire how Japan has really organized the system here that every tourist or local can enjoy the climb.
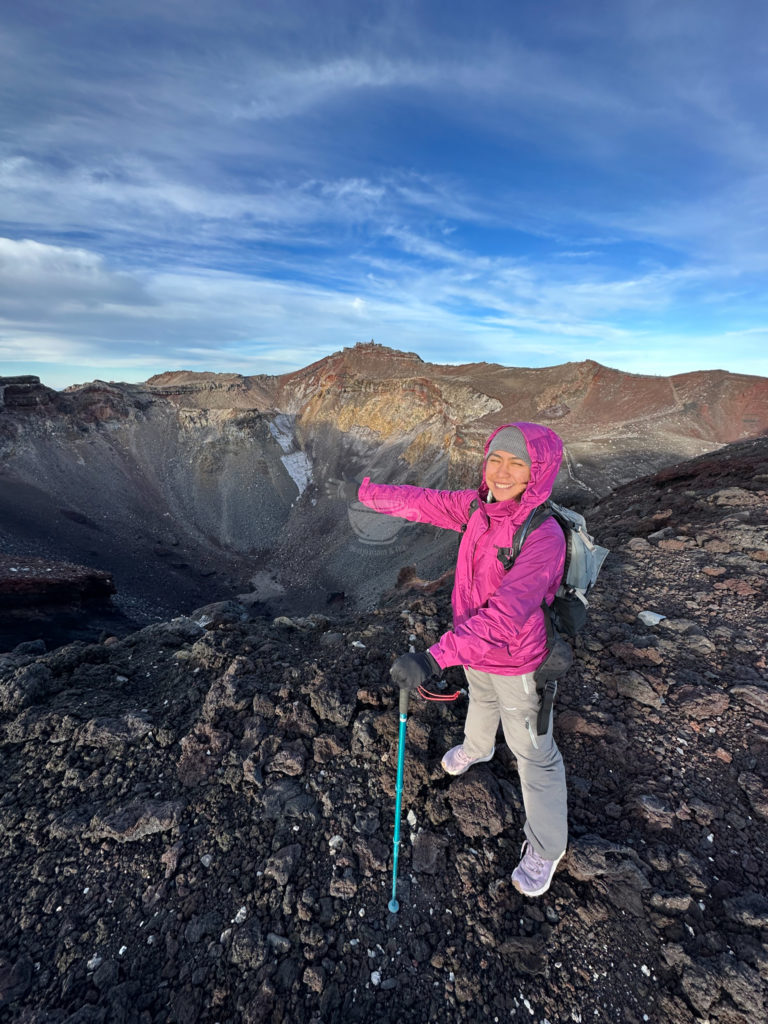
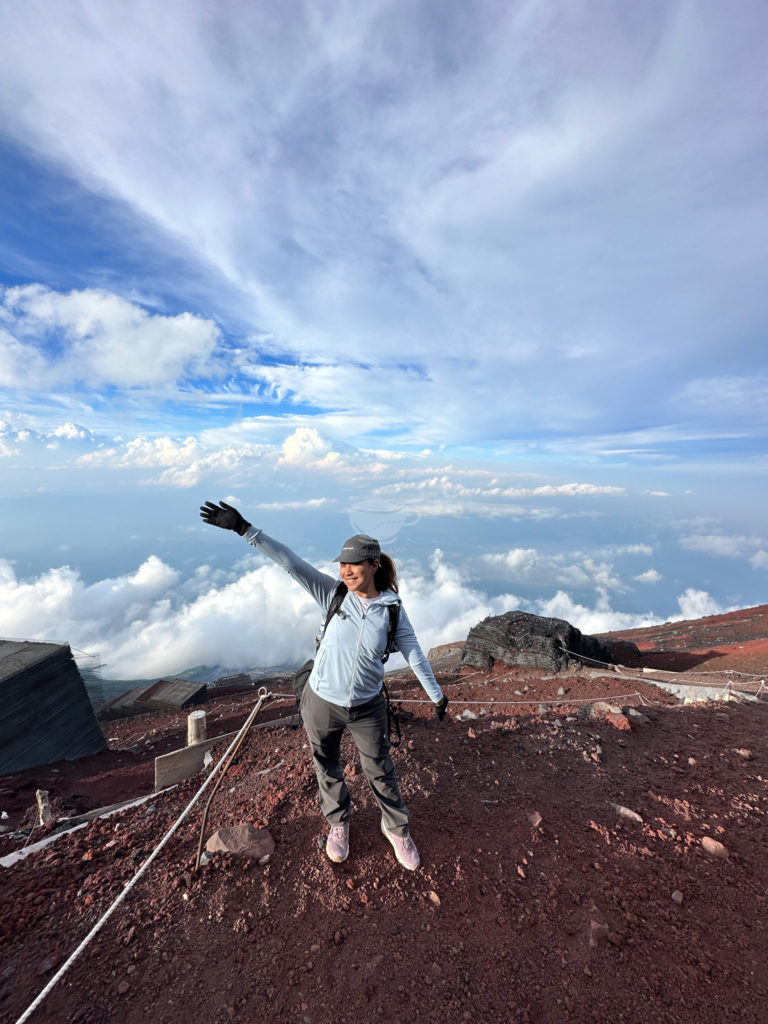
Overall, this DIY trip was a success and it was even one of the most enjoyable trips I’ve ever had! After all the preparations, it felt very fulfilling. Reaching the summit and seeing the crater was worth it.
If you have questions, I’d be glad to answer them. Message me on Destinations and Tea’s Facebook page.